Have you ever wondered if there’s a better way to start your seeds and grow healthier transplants?
Introducing soil blocking, a centuries-old technique that could revolutionize your gardening experience. Soil blockers offer remarkable benefits to your plants, providing optimal root growth and reducing transplant shock. But how exactly do you use a soil blocker?
In this comprehensive guide, we’ll explore everything you need to know about soil blocks and how to use them successfully. From the best soil mix to choosing the right size of blocker, we’ve got you covered. Say goodbye to plastic trays and hello to a more sustainable and effective method of seed starting.
Key Takeaways:
- Soil blocks provide significant health benefits to transplants compared to traditional cell trays.
- Potting mix serves as both the container and growing medium for soil blocks.
- There are two main sizes of soil blockers for home gardeners: mini-blockers and standard soil blockers.
- The choice of soil block mix is crucial for successful germination.
- Soil blockers can be purchased online from reputable retailers.
Why Use Soil Blockers for Germination?
Soil blocking offers several benefits that make it a compelling choice for germinating seeds. Whether you’re an experienced gardener or just starting out, soil blockers provide advantages that will enhance your gardening experience and improve the success of your seedlings.
One of the key benefits of soil blocks is their economical nature. By using soil blocks, you eliminate the need for expensive seedling trays, saving you money in the long run.
Seedlings grown in soil blocks also experience less transplant shock compared to those grown in traditional trays. This is due to air pruning of the roots, which encourages healthier root development. When the roots reach the edge of the soil block, they sense the presence of air and naturally stop growing, preventing root circling and allowing for better nutrient absorption.
Another advantage of soil blocking is that it saves space. If you have a small garden or limited greenhouse area, soil blocks offer a compact and efficient solution for starting your seeds. The absence of plastic trays allows you to make the most of your available space.
Furthermore, soil blocking is an environmentally friendly option. By reducing the use of plastic trays, you contribute to the overall reduction of plastic waste and help create a more sustainable gardening practice.
Lastly, soil blocking provides a more hands-on and enjoyable gardening experience, especially for children. The process of creating soil blocks and sowing seeds directly into them allows for a deeper connection with the plants and a greater understanding of the growth cycle.
As you can see, the benefits and advantages of soil blocking are numerous. From cost savings to healthier seedlings, space efficiency to environmental consciousness, soil blockers offer a practical and rewarding approach to germinating seeds and growing transplants.
How to Make Soil Blocks
Creating your own soil blocks is a simple and rewarding process. By following a few easy steps, you can prepare the perfect seed-starting environment for your plants and ensure their healthy growth.
To make soil blocks, you will need the following supplies:
- Potting mix
- A tub to contain the mix
- Warm water
- Seeds
- Soil blockers
- Mini inserts (for potting up mini-blocks)
- A small pan of water (for rinsing blockers)
- Bottom trays for holding the soil blocks
Follow these steps to create your own soil blocks:
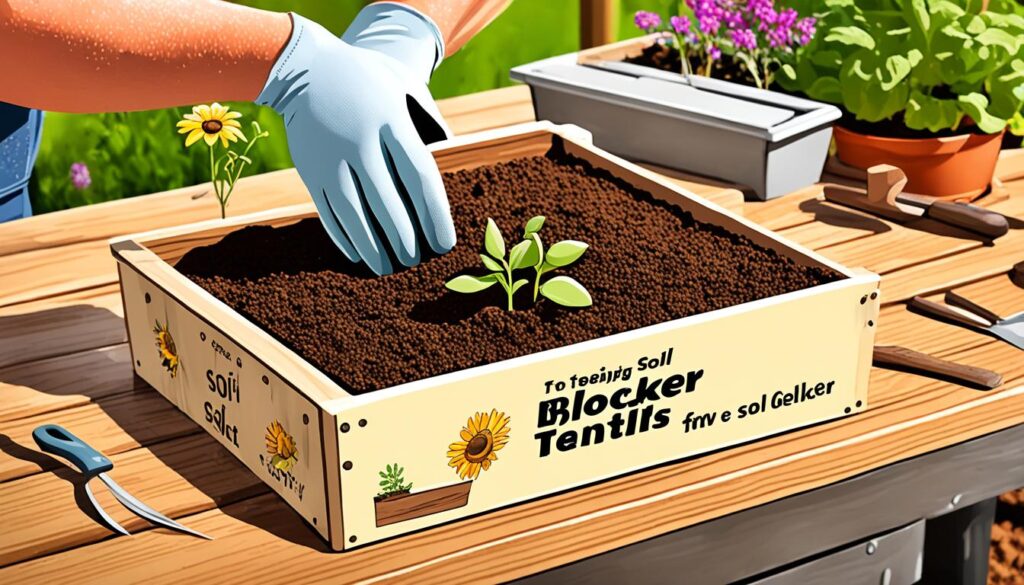
- Moisten the potting mix with warm water in a tub. Ensure that the mix is damp but not overly wet.
- Fill the soil blocker with the mix, packing it tightly and creating a flat base. This step will help ensure the stability and quality of your soil blocks.
- Release the blocks onto a bottom tray, gently tapping the blocker if necessary. This will help the blocks retain their shape.
- Rinse the soil blocker with a small pan of water before making the next set of blocks. Keeping the blocker clean will prevent any debris from affecting the quality of your soil blocks.
- Sow 1-2 seeds per block, following the instructions for the specific seeds you are planting. This will ensure proper spacing and optimal germination.
- Water the soil blocks from the bottom by filling the bottom tray with water. This method encourages healthy root development and prevents excessive moisture on the surface.
- Allow the soil blocks to dry slightly between watering to prevent algae growth. It is important to maintain the right moisture balance for the best results.
- Take notes to track your progress and make adjustments in future seasons. Keeping a record will help you refine your techniques and achieve even better results with each planting.
With these steps, you’ll be able to make soil blocks with ease and provide your seeds with an ideal growing environment. Experiment with different varieties, keep track of your successes, and enjoy the satisfaction of watching your plants thrive.

Choosing the Right Soil Blocker and Mix
When it comes to soil blocking, selecting the appropriate soil blocker size and mix is crucial for successful germination and healthy plant growth. As a home gardener, you have two main options for soil blocker sizes: mini-blockers for half-inch blocks and standard blockers for two-inch blocks.
Mini-blockers are ideal for starting seeds that require a smaller soil-block size, such as delicate flowers or herbs. On the other hand, standard blockers are suitable for most other seeds and transplants, providing ample space for root development.
But choosing the right soil block mix is just as important. You want a mix that combines the right ingredients for optimal plant nutrition and growth. Consider a mix that incorporates peat moss or coconut coir for moisture retention, perlite for drainage and aeration, compost for nutrients, and garden soil to prevent transplant shock. Peat moss is widely available and budget-friendly, while coconut coir is a sustainable alternative. Perlite promotes proper drainage, while compost and garden soil enrich the mix with essential nutrients.
Let’s take a closer look at the components of an ideal soil block mix:
- Peat moss or coconut coir: Provides moisture retention, promoting healthy seed germination and root growth.
- Perlite: Ensures proper drainage, preventing waterlogged soil and root rot.
- Compost: Adds nutrients to the mix, supporting vigorous plant growth.
- Garden soil: Helps prevent transplant shock and provides additional nutrients.
By using the right soil block mix, you will create an optimal environment for your seeds to thrive. Whether you opt for peat moss or coconut coir, ensure you include perlite, compost, and garden soil to provide a well-rounded mix that meets your plants’ needs.
“The right choice of soil blocker size and mix will lay the foundation for successful soil blocking and healthy plant growth.”
Where to Get Soil Blockers and Supplies
Looking to get started with soil blocking? You’ll need to find the right soil blockers and supplies to kickstart your gardening journey. Fortunately, you can easily purchase these items online from trusted retailers such as Amazon or Bootstrap Farmer. Make sure to choose high-quality, durable soil blockers made of materials like zinc-coated steel for long-lasting use. Investing in reliable equipment will ensure that you can enjoy the benefits of soil blocking for years to come.
Aside from soil blockers, there are a few essential supplies you’ll need to have on hand for successful soil blocking. Here’s a handy checklist to help you get started:
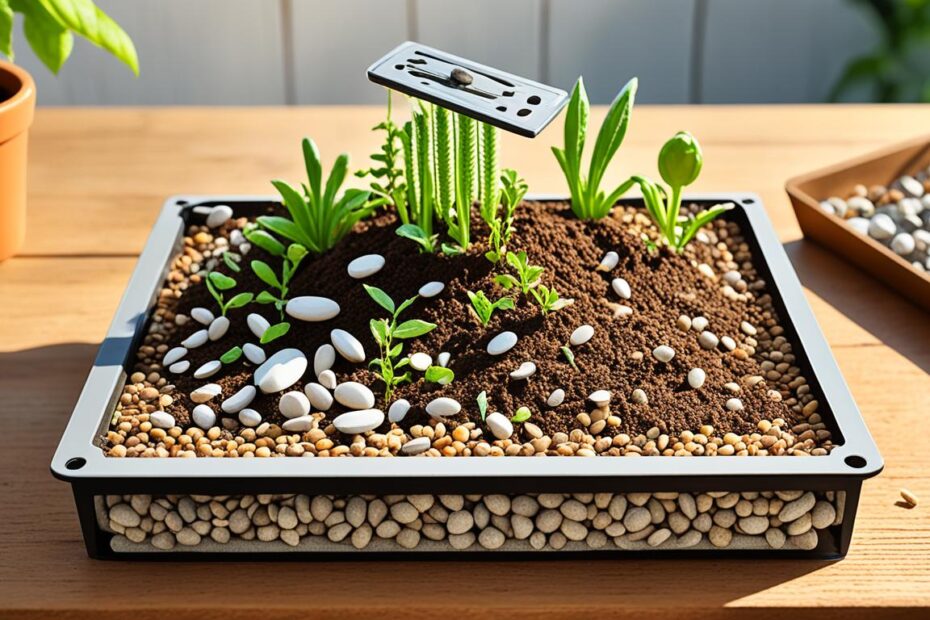
- Trays with holes: These are necessary for bottom watering, allowing your soil blocks to absorb water as needed.
- Non-draining trays: These trays are designed to hold the draining tray and water, preventing any mess or spills.
- Watering can: Use a watering can to pre-moisten the soil block mix and water the trays gently.
- Large bowl or bucket: This will come in handy for mixing the soil block mix, ensuring all ingredients are thoroughly combined.
- Bowl of water: Keep a bowl of water nearby for rinsing the soil blocker between each set of blocks, keeping the process clean and efficient.
Having these supplies readily available will simplify the soil blocking process and set you up for success. Now that you know where to find soil blockers and have a comprehensive list of supplies, you’re well-prepared to embark on your soil blocking journey.
| Supplies | Description |
|---|---|
| Soil Blockers | Durable soil blockers made of materials like zinc-coated steel |
| Trays with holes | Essential for bottom watering |
| Non-draining trays | Hold the draining tray and water to prevent spills |
| Watering can | For pre-moistening the mix and watering the trays |
| Large bowl or bucket | For mixing the soil block mix |
| Bowl of water | For rinsing the soil blocker between sets of blocks |
Now that you know where to get soil blockers and have a comprehensive list of supplies, you’re well-prepared to embark on your soil blocking journey.

Exploring Alternative Soil Blocking Methods
While soil blocking is a beneficial technique for starting seeds and growing transplants, it may not always be the best option for every gardener. The good news is that there are alternative methods that can be explored to meet different situations and preferences. One popular approach involves combining soil blocking with propagation trays, providing greater flexibility in seed starting and transplanting.
Propagation trays can be used indoors on cold days to create a controlled environment for starting seeds. With the protection and warmth provided by propagation trays, seeds can germinate and establish roots before being transferred to the outdoor garden or larger containers. This method is particularly useful in regions with shorter growing seasons or unpredictable weather conditions.
On the other hand, soil blocks excel in outdoor growing scenarios. They allow for efficient use of garden space and offer maximum root health benefits. The absence of plastic trays in soil blocking is not only eco-friendly, but it also prevents the potential for root-binding and improves airflow to the roots.
“The combination of soil blocking and propagation trays gives you the best of both worlds, allowing you to adapt your seed starting process to the specific needs of your plants and growing conditions.”
While soil blocking eliminates the use of plastic trays, it’s worth noting that some types of propagation trays can be sturdier and have a longer lifespan. Depending on personal preference, budget, and the requirements of the plants being grown, the choice between soil blocking and propagation trays may vary. Some gardeners may opt for the convenience and versatility of a combination approach, while others may prefer one method over the other.
To make an informed decision, consider factors such as your gardening goals, the availability of space, and the specific needs of your plants. Experiment with different methods and observe how your seedlings respond to each approach. By exploring alternative soil blocking options and comparing them with propagation trays, you can determine the best solution for your unique gardening circumstances.
Benefits of Alternative Soil Blocking Methods:
- Greater flexibility in seed starting and transplanting
- Controlled indoor germination with propagation trays
- Efficient use of outdoor garden space with soil blocks
- Eco-friendly gardening practices with reduced plastic tray usage
- Improved root health and airflow with soil blocking
Tips and Tricks for Successful Soil Blocking
To achieve successful soil blocking, follow these tips and techniques:
- Sow 1-2 seeds per block: To avoid overcrowding, it is recommended to sow only a couple of seeds in each soil block. This allows sufficient space for the seedlings to grow without competing for resources.
- Sow at the right depth: Plant the seeds at a depth that is approximately twice their size. This ensures that the seeds have proper soil contact for germination while preventing them from being buried too deep.
- Bottom watering: Watering from the bottom is preferred when watering soil blocks. This method helps prevent the growth of algae on the soil surface, ensuring a clean and healthy environment for your seedlings.
- Rinse the soil blocker: After creating a set of soil blocks, rinse the soil blocker with water to remove any residue or excess potting mix. This ensures clean contact with the mix when creating the next set of blocks.
- Consistency is key: Soil blocking is a skill that improves with practice. Don’t be discouraged by initial imperfections or mistakes. Keep refining your techniques and strive for consistency in creating well-formed soil blocks.
- Take notes and track your progress: Throughout the gardening season, take notes on your soil blocking process and track the progress of your seedlings. This will help you identify patterns, make adjustments, and improve your soil blocking skills.
You are now equipped with the essential tips and techniques for successful soil blocking. Put them into practice and watch your seedlings thrive!
Conclusion
In conclusion, soil blocking is a highly effective and environmentally-friendly method for starting seeds and growing transplants. It offers a range of benefits that make it a desirable choice for gardeners. Firstly, soil blocking can result in significant cost savings as it eliminates the need for expensive seedling trays. Secondly, it reduces the risk of transplant shock due to the air pruning of roots, resulting in healthier and sturdier seedlings. Additionally, soil blocks save space, making them ideal for small gardens or greenhouse setups. They also contribute to environmental sustainability by reducing the use of plastic trays.
To successfully implement soil blocking, it is important to follow the proper techniques and use the right supplies. Choosing high-quality soil blockers and the appropriate soil block mix, which includes peat moss or coconut coir, perlite, compost, and garden soil, is crucial. Experimentation and tracking progress are key to refining one’s soil blocking skills over time.
Ultimately, whether you decide to use soil blockers exclusively or in combination with propagation trays depends on your personal preferences, budget, and specific gardening needs. Both methods have their advantages, and the choice is yours to make. So, embrace the world of soil blocking and enjoy the rewards of successful seed starting and transplant growth. Happy soil blocking and happy gardening!
FAQ
How do I use a soil blocker?
To use a soil blocker, moisten the potting mix with warm water in a tub. Fill the soil blocker with the mix, packing it tightly and creating a flat base. Release the blocks onto a bottom tray and rinse the blocker before making the next set of blocks. Sow 1-2 seeds per block, water from the bottom, and allow the soil blocks to dry slightly between watering to prevent algae growth.
What are the benefits of using soil blockers for germination?
Using soil blocks for germination offers several advantages. It is an economical option as it eliminates the need for expensive seedling trays. Seedlings grown in soil blocks experience less transplant shock due to air pruning of roots. Soil blocks also save space, making them ideal for small gardens or greenhouse setups. Additionally, soil blocking is more environmentally friendly as it reduces the use of plastic trays.
How do I make soil blocks?
To make soil blocks, you will need potting mix, a tub to contain the mix, warm water, seeds, soil blockers, mini inserts (for potting up mini-blocks), a small pan of water (for rinsing blockers), and bottom trays for holding the soil blocks. Moisten the potting mix with warm water in a tub. Fill the soil blocker with the mix, packing it tightly and creating a flat base. Release the blocks onto a bottom tray and rinse the blocker before making the next set of blocks. Sow 1-2 seeds per block, water from the bottom, and allow the soil blocks to dry slightly between watering to prevent algae growth.
How do I choose the right soil blocker and mix?
There are different sizes of soil blockers available, but the two main sizes for home gardeners are mini-blockers for half-inch blocks and standard blockers for two-inch blocks. The choice of soil block mix is crucial for successful germination. It is recommended to use a mix that includes peat moss or coconut coir, perlite for drainage, compost for nutrients, and garden soil for transplant shock prevention.
Where can I get soil blockers and supplies?
Soil blockers can be purchased online from retailers such as Amazon or Bootstrap Farmer. It is essential to choose high-quality, durable soil blockers made of materials like zinc-coated steel for long-lasting use. Other supplies needed for soil blocking include trays with holes for bottom watering, non-draining trays for holding the draining tray and water, a watering can for pre-moistening the mix and watering the trays, a large bowl or bucket for mixing the soil block mix, and a bowl of water for rinsing the soil blocker.
Are there alternative soil blocking methods?
While soil blocking is beneficial, it may not be suitable for all situations or preferences. Some flower farmers combine soil blocking with propagation trays for greater flexibility. The choice between soil blocking and propagation trays depends on personal preferences, budget, and the specific needs of the plants being grown.
What are some tips and tricks for successful soil blocking?
To achieve successful soil blocking, it is recommended to sow only 1-2 seeds per block to avoid overcrowding. Sow the seeds at a depth twice their size. Bottom watering is preferred to prevent algae growth. Rinse the soil blocker between each set of blocks for clean contact with the mix. Consistency is key, and it is normal to make mistakes and have imperfect blocks at first. Keep practicing and refining your techniques. Taking notes and tracking your progress throughout the gardening season will help you improve your soil blocking skills.
